Gimp 2.8 comes with several exciting features that have enhanced my work flow. Although my favorite feature is the single window mode I’ve also been using the new Cage Transform tool today and have found it quite impressive.
The Gimp Transform tool is the result of the efforts of Michael Muré as part of his Google Summer of Code 2010 project. Many people have contributed and helped to make it what it is since then.
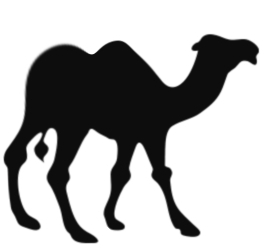
The image below shows the image I started with. My goal was just to make some basic modifications to this image to demonstrate the tool. I am a GIMP beginner and this is a beginner level demonstration.
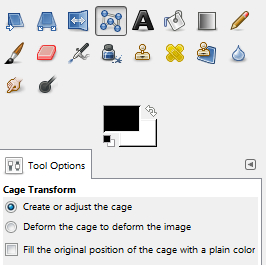
After selecting the Cage Transformation tool you can see three tool options below. The first option ‘Create or adjust the cage’ will be selected automatically and must be used first.
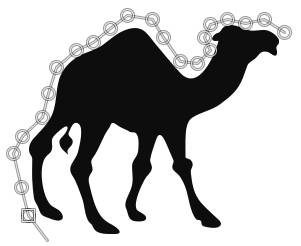
Next, left click around the object or area you want to transform. More points will allow you to add more detail to your transformation. Complete the outline shape by clicking back to your first point.
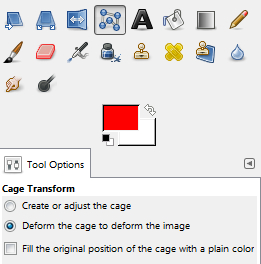
After you’ve draw a complete shape around your object you will see the ‘Deform the cage to deform the image’ option become selected in the Tool Options area of the toolbox.
Now you can select points around your object that will transform the adjacent part of the object while stretching the surrounding points to fit the adjustments.
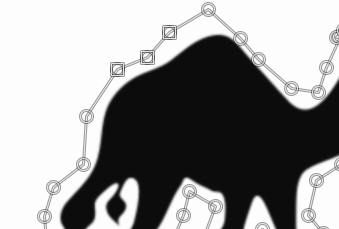
Selected points are shown with a square surrounding them. In the image below you can see I’ve selected multiple points around the cage outline. Do this by clicking and dragging a square around multiple points or by pressing the Shift key while selecting them. Now when the points are adjusted they will move together.
Here is a look at a modification I made to the body of the camel without breaking or distorting the image too much. I simply pulled the points around the rear out and upward.
I look forward to learning more about ways to use the Cage Transform tool, fine tuning my skill with it, and to using it on some more complex projects.


{ 6 comments }
Great tutorial Andrew! I look of GIMP users from beginners to expert will find the cage tool very useful.
Awesome, gives it some of the usefulness of vector graphics.
Potentially a very useful tool, thanks for sharing!
Looks very blurry around where the change was made.
I’ve tried it with disappointing results: http://88.43.36.100/~mrjive/tmp/gimp2.8-cage_tranformation_tool.ogv
Moreover, in you example you can see that the image borders get blurred after the transformation… not very satisfying indeed…
Nice Tutorial, Andrew,
Of course the edges will blur when you move them. All of those pixels must be estimated and interpolated to fill the new space. I expect this issue might appear differently for a full color image.
Which would you rather do: [A] color the new, larger image, pixel by pixel, or [B] cage-alter the image then touch-up the edges and fills that you got for free with the tool.
I vote for [B] every time.
“If some folks win a huge lottery payment, they find some reason to complain about the color or type of paper used for the cheque.”
Thanks for the tutorial,
~~~ 0;-Dan
Thanks for chiming in Dan. I totally agree.