Create SSL Certificate
I had a client who needed an official SSL Certificate and had an account at godaddy.com. I have to confess, I really did not want anything to do with godaddy.com, based on their advertising methods and responses students and clients had made about them, nothing criminal just hard to get things done or changed. But…it made it much easier to use the features with godaddy.com than to go somewhere else for this client since they had a godaddy account. So I began the process of creating an official SSL certificate for them.
No matter where you create your certificate, read directions carefully and note that some providers will do the same process a little differently, so beware.
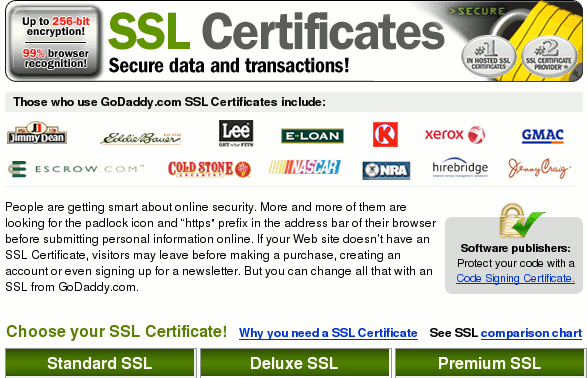
The first thing that I found out, there are three different certificates for SSL available at godaddy.com (Standard, Deluxe and Premium). All I needed for this client was basic encrypted communication with a fast easy setup. As a result I purchased the SSL Standard Certificate for $29.95. Much cheaper than other options.
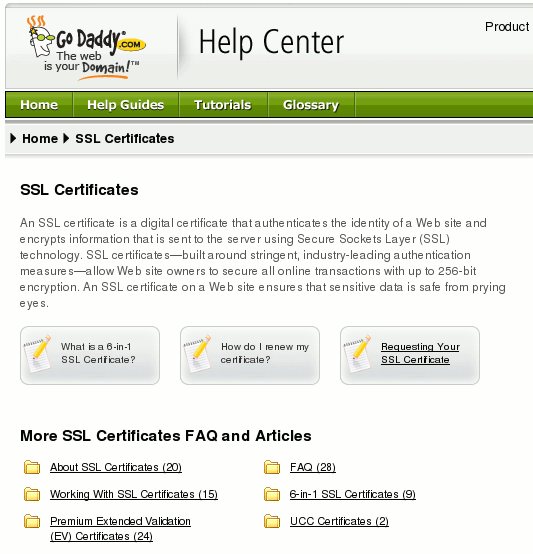
One of the nice features of godaddy.com is that they have a lot of tutorials if you get stuck. Now, the bad things I had heard about godaddy.com were based on how hard it was to get things done. However, I found that since I had background in web servers and SSL, the process was actually much easier than other places. I think that much of the bad report that people give in terms of technology is simply a result that they do not understand how it works. Anyway, the process is to purchase the SSL Certificate and then login to your account and set the certificate up.
I placed this certificate on an Apache 2 server. But regardless of server you must go to the server and create the .crt file in order to capture the information about the server that the SSL certificate will be on.
Move into the /etc/pki/tls/certs/ directory.
Create a Certificate
OpenSSL should be installed on the server as this will be used to create the keys. Create a RSA private key for the server:
# openssl genrsa -des3 -out server.key 1024
Generating RSA private key, 1024 bit long modulus
Enter pass phrase for server.key:
Verifying – Enter pass phrase for server.key:
# openssl rsa -noout -text -in server.key
Enter pass phrase for server.key:
Create a Certificate Signing Request with the server’s RSA private key
# openssl req -new -key server.key -out server.csr
Enter pass phrase for server.key:
You are about to be asked to enter information that will be incorporated
into your certificate request.
What you are about to enter is what is called a Distinguished Name or a DN.
There are quite a few fields but you can leave some blank
For some fields there will be a default value,
If you enter ‘.’, the field will be left blank.
—–
Country Name (2 letter code) [GB]:US
State or Province Name (full name) [Berkshire]:Montana
Locality Name (eg, city) [Newbury]:Trout Creek
Organization Name (eg, company) [My Company Ltd]:My Company
Organizational Unit Name (eg, section) ]:
Common Name (eg, your name or your server’s hostname) ]:example.org
Email Address ]:mike@example.org
Please enter the following ‘extra’ attributes
to be sent with your certificate request
A challenge password ]:Mu75Rdes43
An optional company name ]:
# openssl x509 -req -days 365 -in server.csr -signkey server.key -out server.crt
Signature ok
subject=/C=US/ST=Montana/L=Trout Creek/O=My Company/CN=example.org/emailAddress=mike@example.org Getting Private key
Enter pass phrase for server.key:
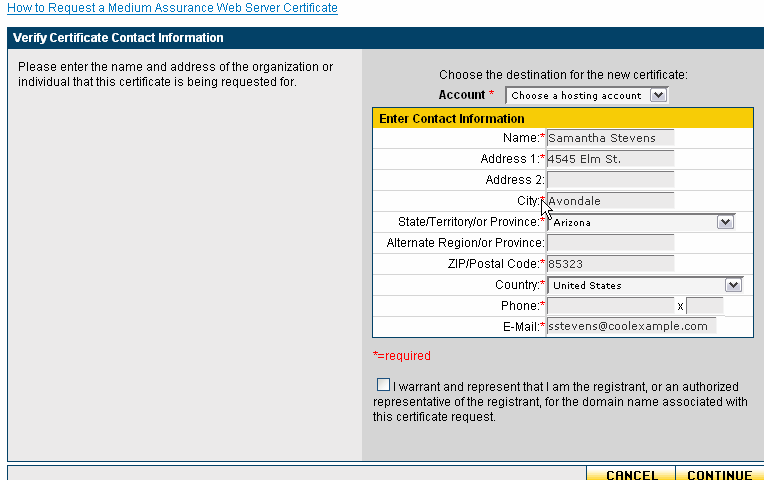
Once you have created the server.crt file you can go back to godaddy.com and create your Certificate Contact Information.
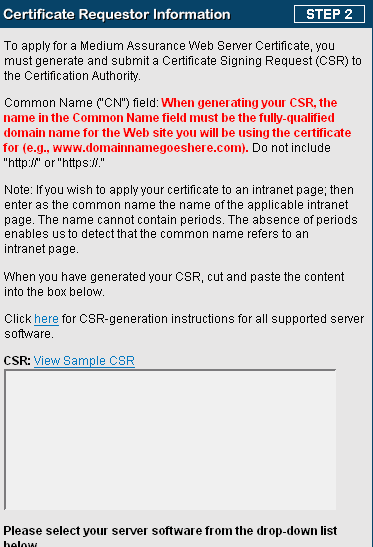
As you continue you will need to open your .crt file, you may have called it server.crt or your_domain.crt. When you open it you will see:
—–BEGIN CERTIFICATE REQUEST—–
lots of stuff in here
—–END CERTIFICATE REQUEST—–
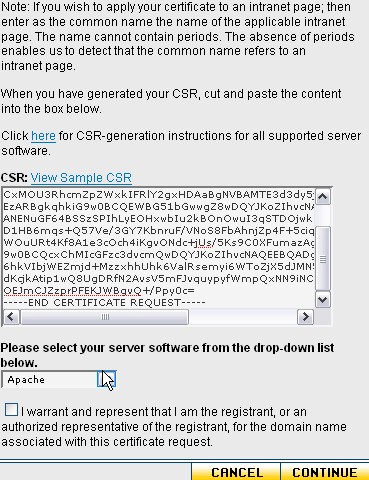
Copy all of that and drop it into the box provided, where it says “CSR:”.
Once you have entered your certificate, be sure to select the server type that you are using. In the example, it was created and used on an Apache server.
Once you enter the information you will receive an email with the zipped certificate.
Download the Certificate.
Transfer .zip file to Server
scp 19610928105c7125d1011e87857e161989425494313448019905811.zip root@192.168.5.4
19610928105c7125d1011e8735857e1619894254313448019905811.zip 100% 4155 4.1KB/s 00:00
Unzip the file on your server.
unzip 19610928105c7125d1011e8735857e1619894254313448019905811.zip
When you unzip you will have listed a my_domain.com.crt (or whatever you called it).
Copy that crt to the correct location.
cp my_domain.com.crt /etc/pki/tls/certs/
Edit your ssl.conf file which is found in /etc/httpd/conf.d. Be sure to place the correct paths to where your certificate is located as well as the key. The gd_bundle.crt will also be provided which has everything in one file.
SSLCertificateFile /etc/pki/tls/certs/my_domain.com.crt
SSLCertificateKeyFile /etc/pki/tls/private/my_domain.key
SSLCertificateChainFile /etc/pki/tls/certs/gd_bundle.crt
Make sure that your domain has this information if you are using IP Based Hosting. Of course you will not be able to use Name Based Hosting as the certificate needs to be attached to one IP Address only.
SSLEngine on
SSLCertificateFile /etc/pki/tls/certs/my_domain.com.crt
SSLCertificateKeyFile /etc/pki/tls/private/my_domain.key
SSLCertificateChainFile /etc/pki/tls/certs/gd_bundle.crt
Restart Your Web Server
You should see your server listening on port 443 and see that using https works with your domain transparently.
